I'd like to start this post by thanking Mr. Tommy Staples, former Athletic Director of Norview High, for giving me wonderful (though often oversized) coaching attire. Let me just tell you how much I love being the smallest female coach, and thus, the coach constantly cloaked in men's polo shirts and oversized t-shirts. Example A) My amazing Nike dry fit:
Looks normal right? Normal except for the fact that the shoulder seams lie slightly below my triceps. So, my pinspiration for this project came from
this site. I am constantly trying to tuck my sleeves up on hot days, so I thought I'd give this DIY tank a try.
Budget: $0 (assuming you have an old t-shirt and some scissors, this pin project is a freebie).
Step one: Cut collar, sleeves, and bottom seam of shirt.
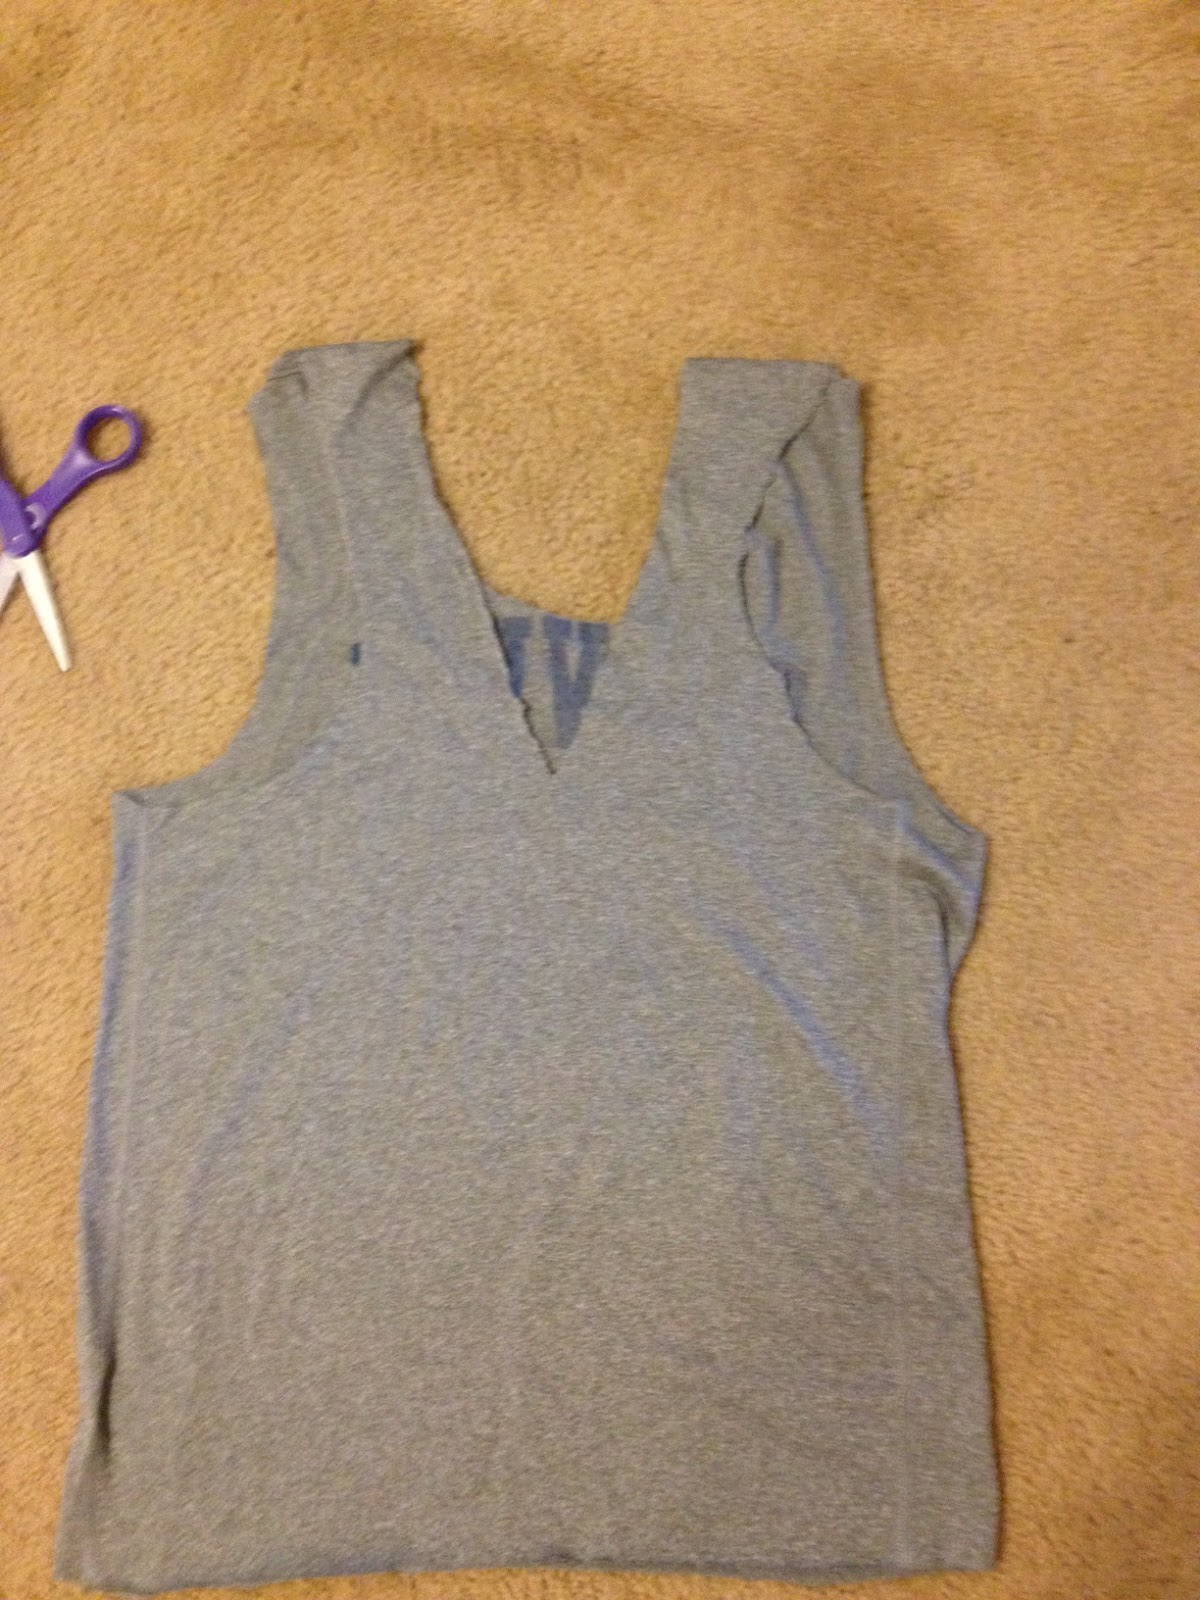
Step two: Deepen the racerback and cut a deep "v" down the center of the back. Then, cut the neckline how you'd like it. I found that a low scoop neck worked best, which took off a bit of the top of the writing, but made the best fit in the chest. *note: if doing this project again, I'd cut my "v" a little bit deeper in the back than shown in this picture. Ideally, the "v" should extend a little bit lower than where the sleeves are cut.
Step 3, take the bottom seam of the shirt and begin wrapping it to pull the back of the shirt into a racerback. Tie a knot at the top and bottom of the coil, and cut the excess off.
Final (optional) step.... if you'd like your tank longer in the back, and shorter in the front (best if you do, indeed, have an oversized shirt, like me), lay the shirt on the side and cut at a slight angle.
Finally: trim any rough edges and try it on! I love mine!
Total cost: as projected, nada!


the health stuff|Complete Health prevention
ReplyDeletefilmy stuff|Complete Bollywood BuZZ
Delicious diet foods for weight loss
weight loss
weight loss
treatments-asthma
treatments-asthma
Beauty care
Teeth whiten
Hair Growth
platelets
healthy bones
Arthritis
Arthritis
omega 3 fish for Arthritis
Diabetes type 2
Rheumatoid
Non-small-cell-lung-cancer
Diet and Fitness
Skin Tips
Yoga Workouts
Zika virus